Track Activity
Analytics
On this Page:
About this Tutorial
You can see every ticket created or updated if you choose to log tracking in the Activity Log.
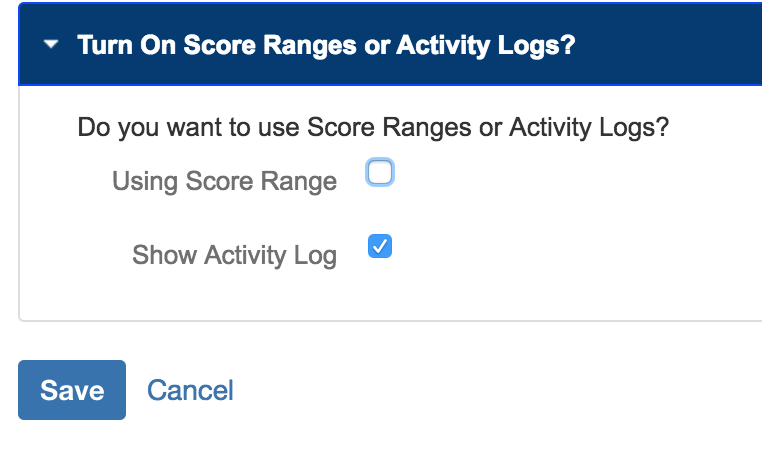
1 | Turn On Activity Log
Tracking activity does add volume to your Jira database, so we've allowed you to deliberately choose to track your SmartHandler activity or not. You need to do this in the Handler Settings, as we talked about in the Setup Tutorial. You can change this at any time.
We recommend you at least turn on tracking after first setting up and running a new SmartHandler so you can ensure everything is working as you expect it to.
=
2 | Make Sure the SmartHandler is Running
 ===
===
=
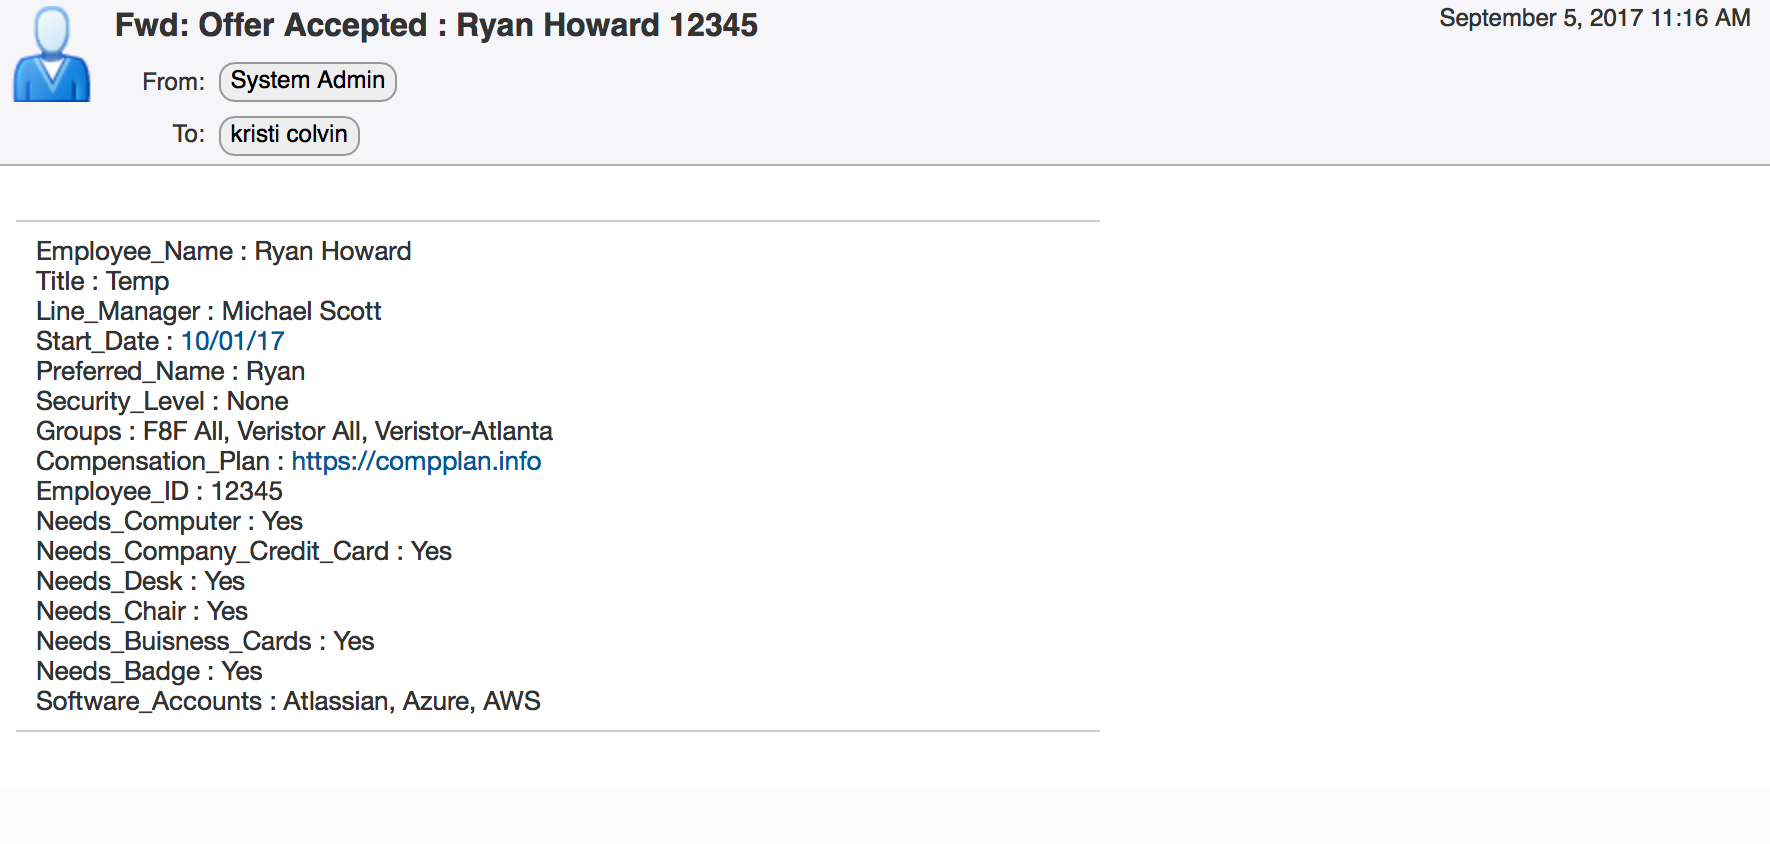
3 | Send Email to the Inbox for this Handler
To test this SmartHandler, send some emails formatted in a way that includes the Match Criteria expected, so that Jira tickets will get created or updated.
=
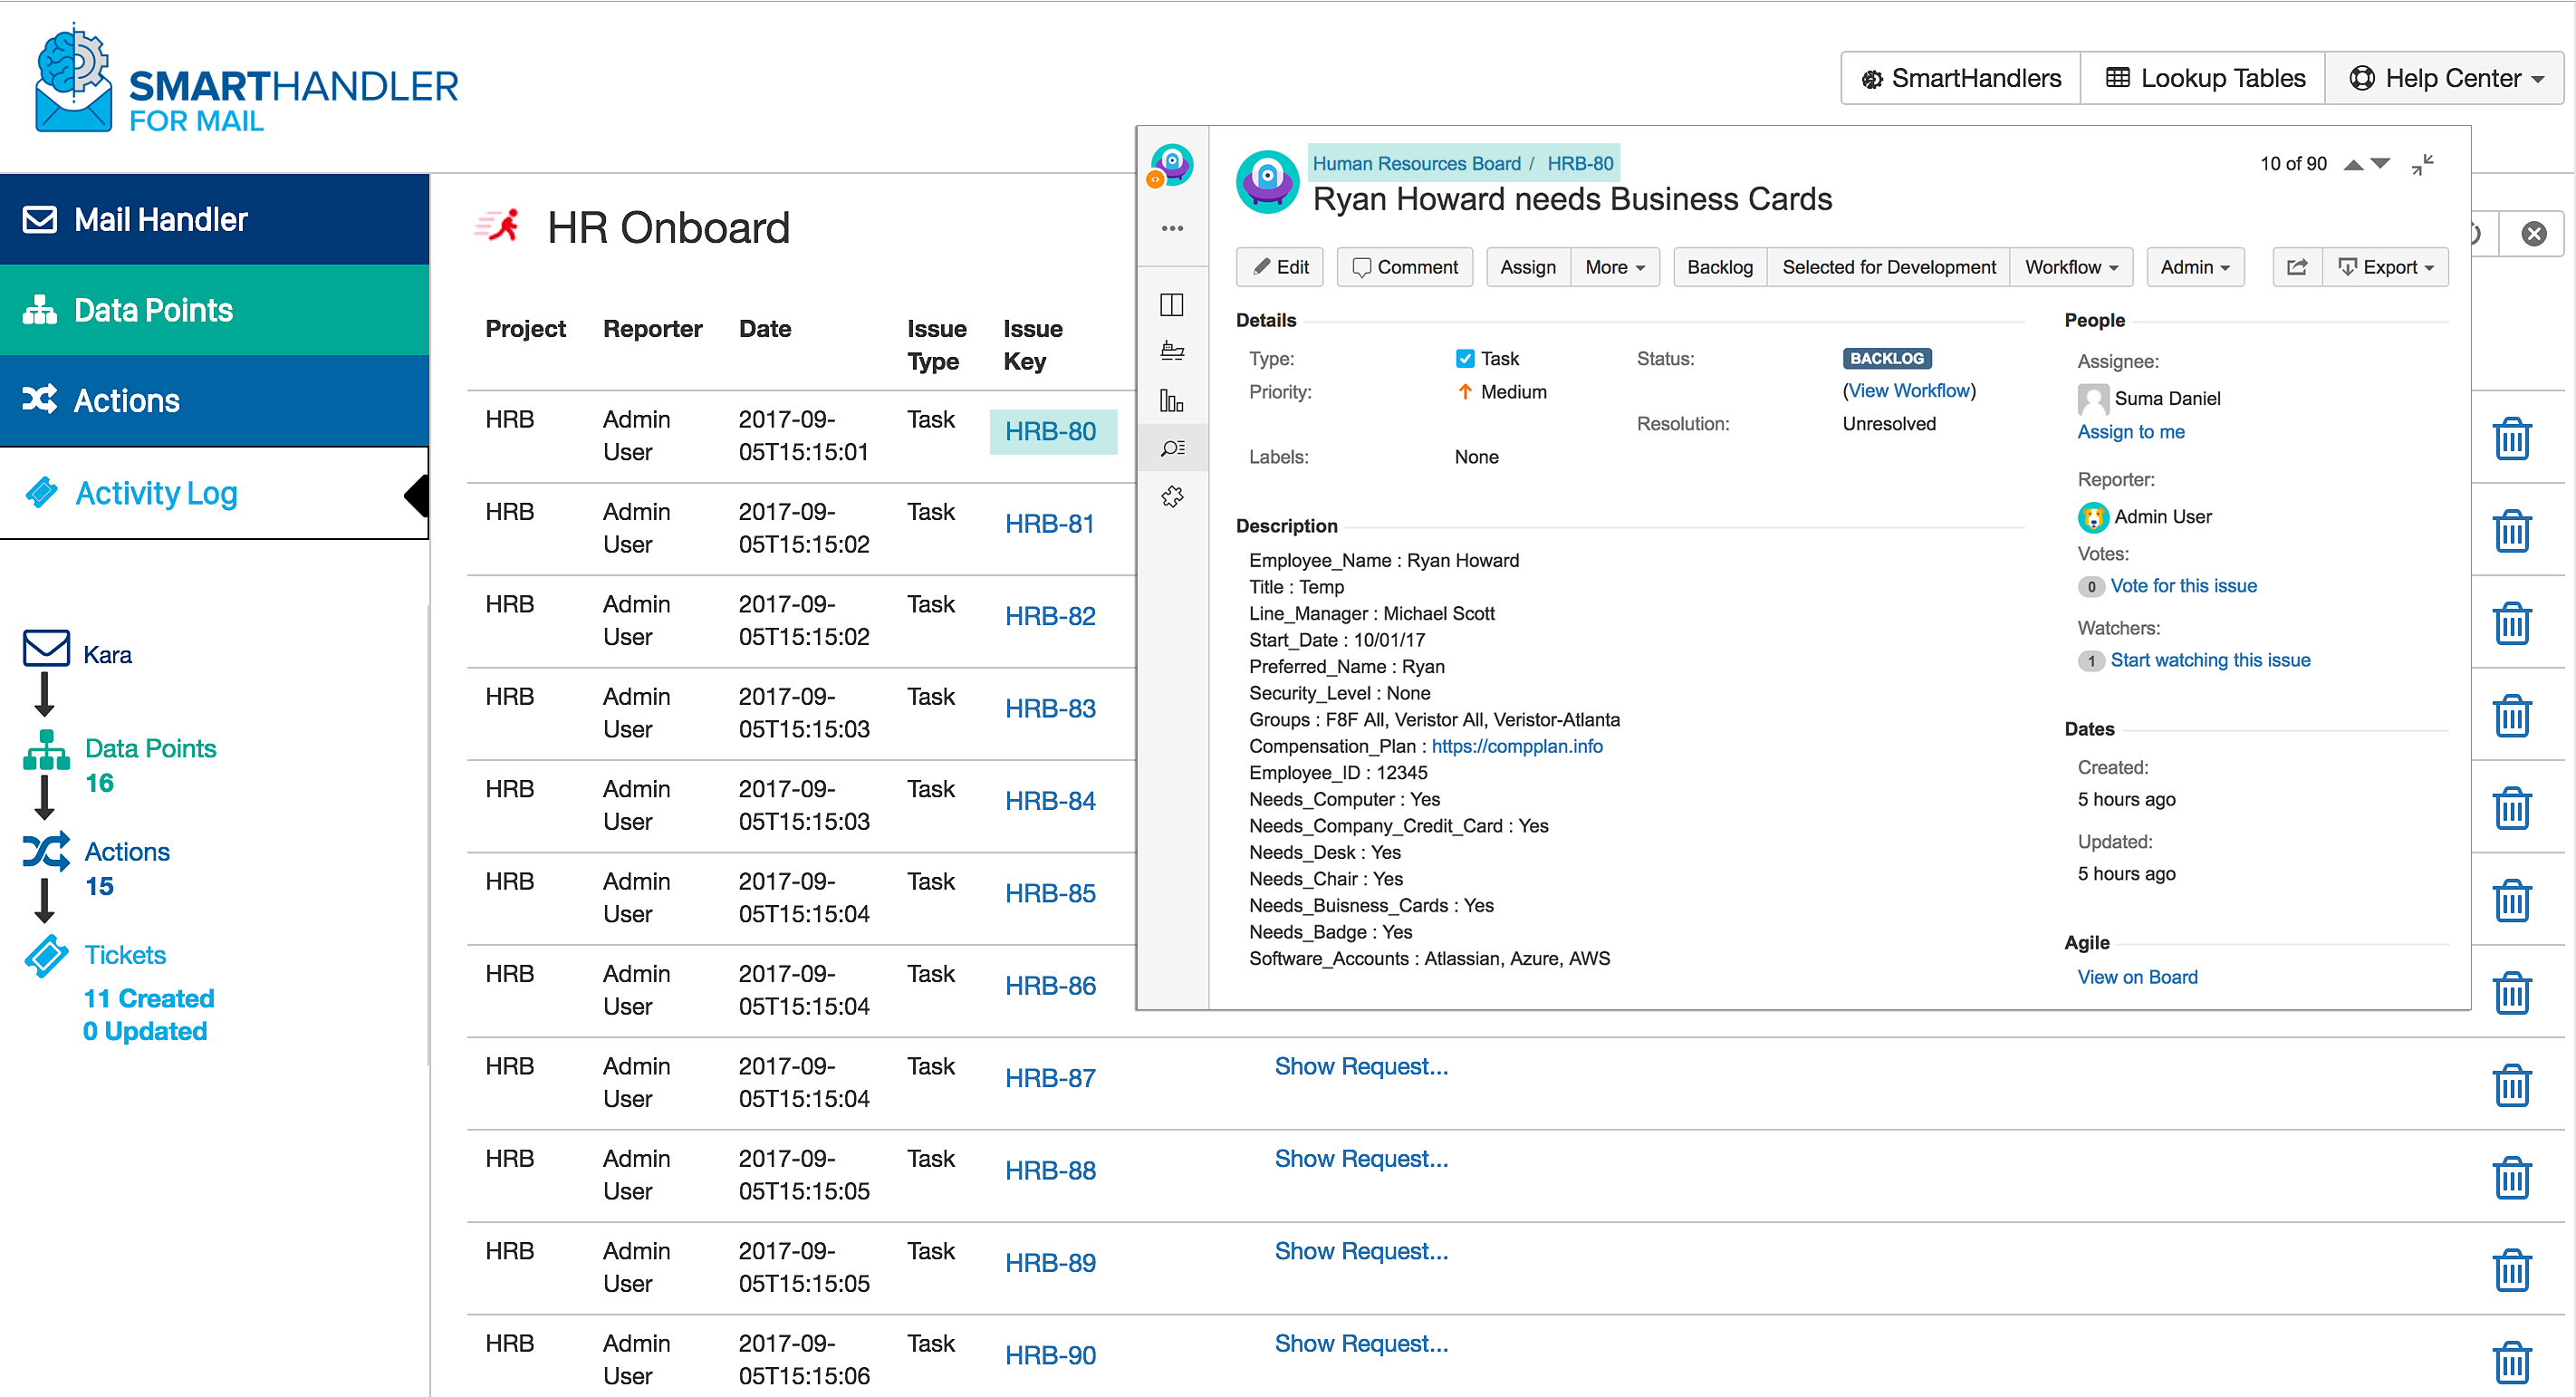
4 | View the Activity Log
This is your moment of glory! If everything is running successfully, you will have an Activity Log filling up with entries.
Notice the preview map under the navigation tabs on the left also - that shows you how many tickets have been created or updated and is always on the screen so you can see if the SmartHandler is generating tickets or not.
Clicking on the Issue Key linked in the list will open that Jira ticket so you can see the results.
=
PREVIOUS STEP: CREATE ACTIONS
END OF TUTORIAL