Create Actions
Analytics
On this Page:
About this Tutorial
Prior to running your SmartHandler, we need to Create Actions. The first Action will create a new ticket if the Data Point Incoming Issue Key is empty or null. This tells us it's not referencing an existing request, so we can trigger the Create New Ticket Action. However, if this Data Point is not equal to null/empty, we want to use it to find the existing ticket and update it, adding the email body as a comment.
There isn't a limit on the number of Actions associated with each SmartHandler. You can have one handler that creates a single ticket or a handler that creates 14 tickets and updates 4 tickets. That's the automation power you now have with SmartHandler for Mail!
1 | Create First Action - Create New Ticket
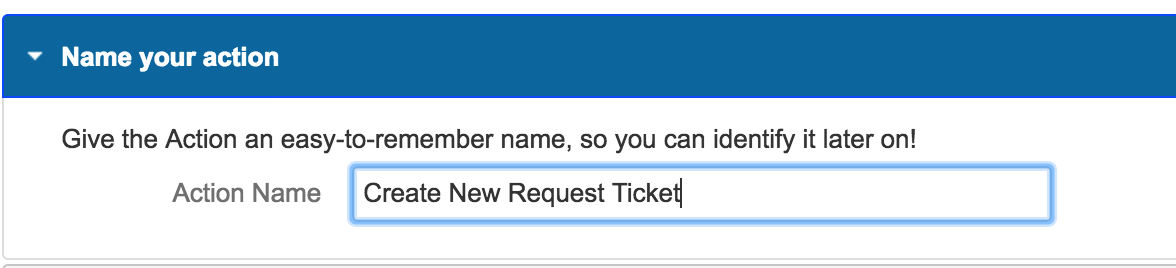
Select Actions in the left-hand navigation tab to open the screen for creating a new Action. Give thus Action a unique and descriptive name, thinking in terms of what it will do in your workflow.
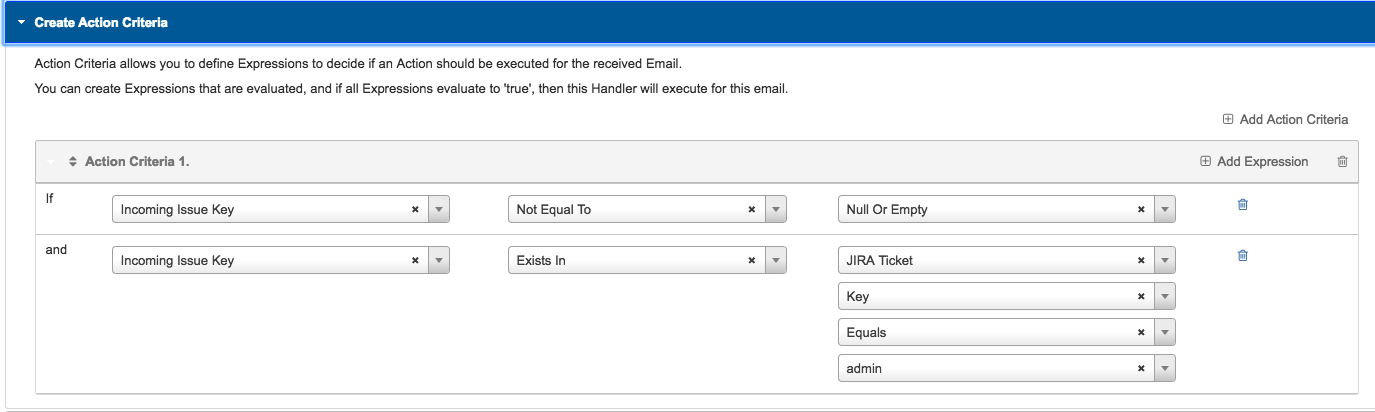
2 | Set First Action Criteria
The next step is determining this Action's criteria. If these conditions are met by the incoming email, the Action will run. First, select Add Action Criteria. Then select, Add Expression. This is so you can create complex (or simple) expressions.
NOTE: Every time you add Action criteria, the criteria set uses "OR" logic with other criteria sets. If you add more than one expression to a criteria set "AND" logic is used to tie them together.
In this scenario, we only want to create a new ticket if the Incoming Issue Key is Equal To Null or Empty. This will be the case if our RegEx does not find anything that matches the format of a Jira Issue Key while handing your emails. Use the dropdown menus to reflect what you see here and move on to the Action Type section.

3 | Select Action Type
You have two options to select from for the Action Type: Create New Ticket or Update Existing Ticket. In this tutorial we will select Create New Ticket.
If Score Ranges are enabled, you will also be able to select Score Range Calculation in the list of actions also. For more information on Score Range Actions click here.

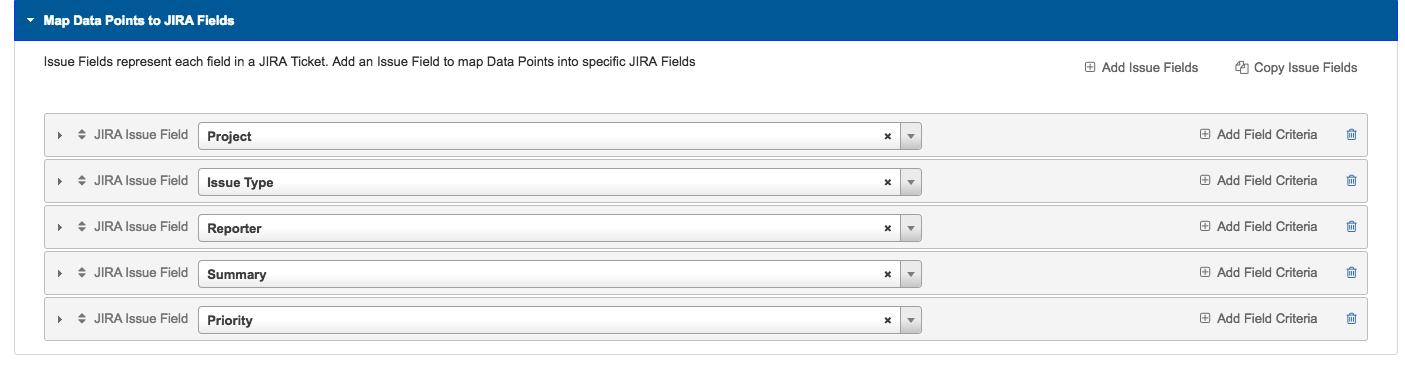
4 | Map Jira Issue Field Values
This step is where we will combine data from our incoming email, Data Points, and other business logic (i.e. Lookup Table) to map information to fields in Jira. The five default fields for creating a new ticket (Project, Issue Type, Reporter, Summary, Priority) will be pre-populated for you initially, but they will not contain mappings.
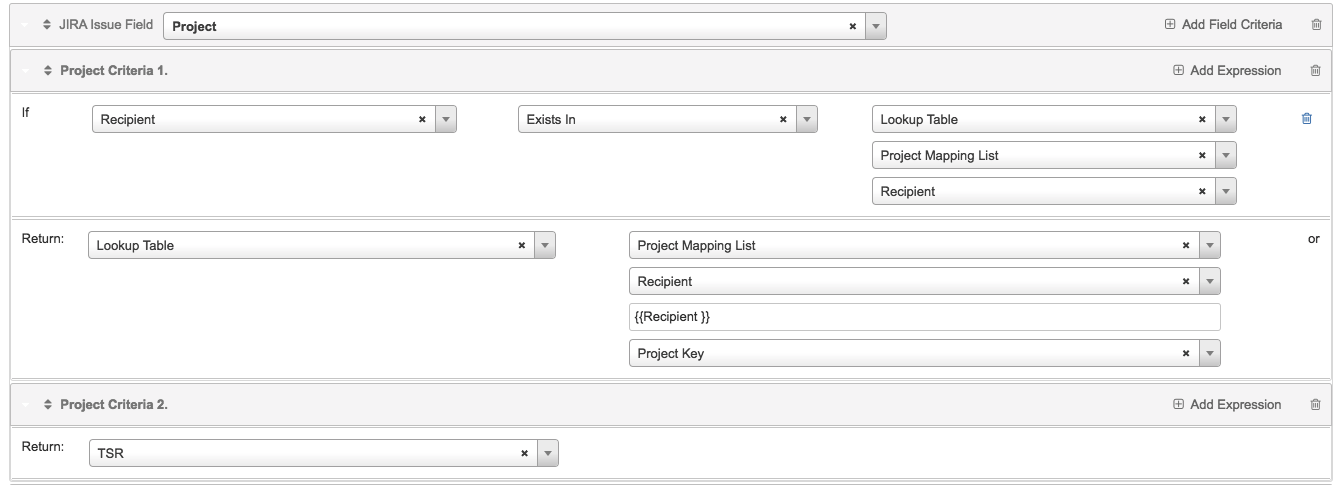
The first step for this tutorial is Project. We want to create a ticket in the project associated with the email recipient. I have uploaded a Lookup Table, Project Mapping List, with three columns: Recipient, Project Key, and Issue Type. For more information on Lookup Tables click here. So our mapping for Project should read "If Data Point, Recipient, exists in Lookup Table Project Mapping List in column Recipient then Return this Lookup Table entry column Project Key and place it in Project. Else Just assign it to my default Project Key, TSR.". To accomplish this click Add Field Criteria and then Add Expression to add your first IF statement. Once filled out, click Add Field Criteria again and set a default return value. Expressions are evaluated top down. This allows you to define custom If/Else logic. Adding more than one expression to a field criteria will create a logical AND relationship between the two expressions. Adding more than one field criteria will create a logical OR relationship between the criteria. Mapping Issue Type will be similar for our tutorial except that instead of returning the Project Key column, we will select the Issue Type column of our Lookup Table.
In our example Reporter, will default to Admin and Priority will be Medium. For Summary we want to combine the email subject line and the Recipient Data Point. To accomplish this we need to set a default return value of Other. Other will open a text box for the user to enter a string value that doesn't exist in the options list. In our text field we will write {{Recipient}} - {{Email Subject}}. In addition to these fields, we want to add a Description to our ticket.To add another field to our ticket, click Add Issue Field in the top right corner. From here you will be presented a drop down with all of your Jira system and custom fields.
For more information on populating a custom field, click here. Find Description in the list and give it a return value default of Email Body.Click Save! Your first action is ready to go! Now let's create a second action to update an existing ticket.
Uploaded Lookup Table, Project Mapping List

Default Issue Fields
Project Field Mapping
Summary mapping

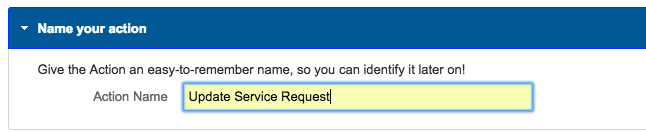
5 | Create Second Action - Update Ticket
From your Action list, click New Action. Like before, give this Action a unique and descriptive name.
6 | Set Second Action Criteria
7 | Set Second Action Type
In Action type, once you select Update Existing Ticket, you will see more fields to fill out. This is telling the Action how to find the ticket to update. If your specifications here return more than one ticket, i.e. you don't use a unique identifier, your action will run on all matching tickets.The Search Field is the Issue Field we are looking in. This can be a System Field, like Issue Key, or a custom field. The next selection is where you define if you want your search to look for an exact match or just contains. Note that if you say Issue Key PROJECT-1 as your search value, it will return tickets PROJECT-1, PROJECT-11, etc if you select contains. Search value is the value in the field that you want to find. You can use a hardcoded string or use our { function to see a list of dropdown options, including Data Points. The Searcher here needs permissions to Browse Project, Administer Project, Assign Issues, Edit Issues, Resolve Issues, Manage Watchers, Create Attachments, Transition Issues, and Add Comments.

8 | Map Second Action Jira Issue Field Values
For our update Action, we only want to set the email body as a comment.
Save your Action!

9 | Reorder Actions
Actions, like our expressions, are evaluated top down. We allow you to modify the order in which your Actions are executed by drag and dropping them. The order is automatically saved.


10 | Download and Import This SmartHandler!


PREVIOUS STEP: DEFINE DATA POINTS
NEXT STEP: TRACK ACTIVITY