On this page: Related pages: Related links: |
|
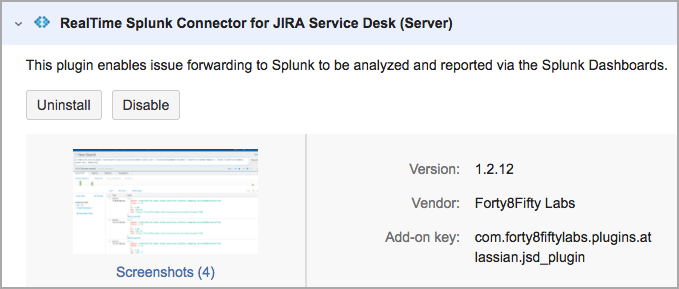
To send Jira issues to Splunk, install the Splunk app and the JSD add-on. Then, use the setup wizard in Jira to configure your first connection between Jira and Splunk. |
Log in to your Jira instance as an admin.
Click the gear icon, and then click Add-ons.
Search the Marketplace for Forty8Fifty Real-Time Splunk for Jira.
Follow the on-screen instructions to buy the add-on or start the free trial for 30 days.
Use the setup wizard to connect a Splunk server, configure a registration between Jira projects and the Splunk server.
On the Add a Splunk page, enter the connection details for the Splunk server where you want to send issues.
Click Add.
You can also add Splunk Schemes to Jira later.
Click Add.
You can all add Project Schemes later.