...
- Click the gear icon, and then click Applications.
Under Integrations, click RealTime Splunk Connector for JIRAJira.
- Click Settings.
On the Settings page, configure the communication settings between JSD Jira and Splunk.
Click Save Settings.
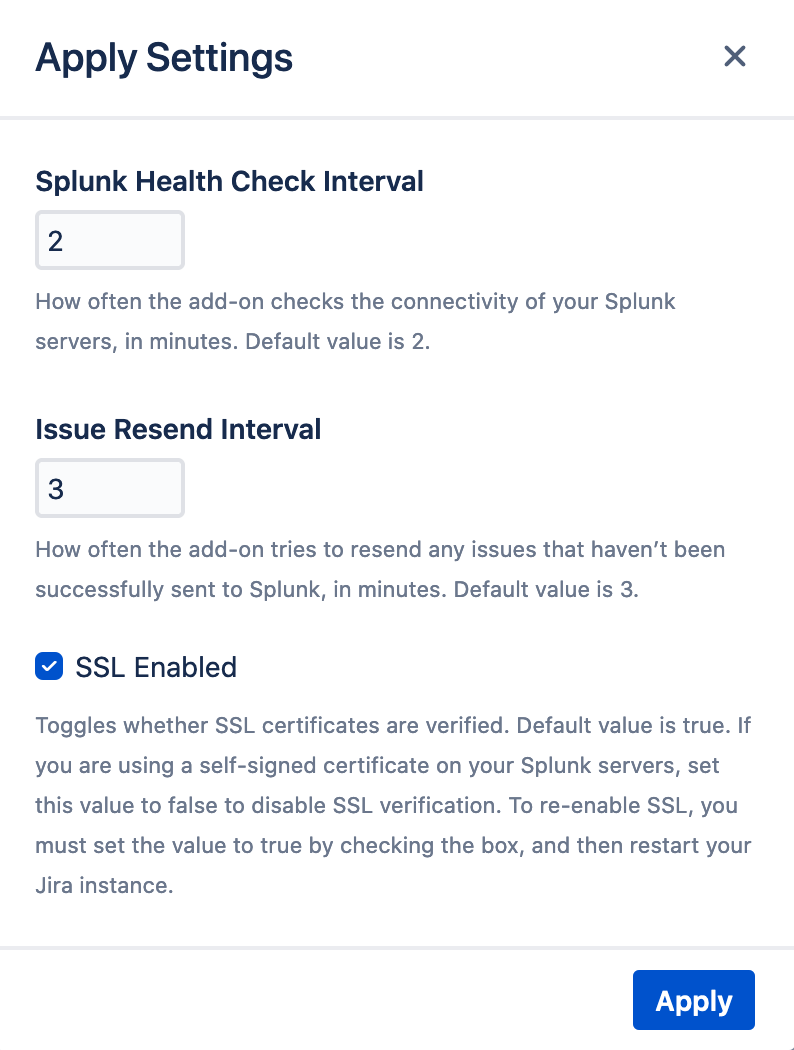
HeartbeatField Description Splunk Health Check Interval How often the add-on checks the connectivity of your Splunk servers, in minutes. Default value is 2.Splunk Failure Count Alert Number of consecutive Splunk connectivity failures that will trigger an initial HipChat notification (if the HipChat add-on is configured). Default value is 5.Splunk Failure Count Interval Number of consecutive Splunk connectivity failures that will trigger a subsequent HipChat notification, after the initial failure notification. The add-on will continue to send these updates until the Splunk server is back online. Default value is 10.
Use Strict ModeIssue Resend Interval How often the add-on tries to resend any issues that haven’t been successfully sent to Splunk, in minutes. Default value is 3.
To turn Strict Mode back on, you must set the value toSSL Enabled Whether SSL certificates are verified. Default value is true. If you are using a self-signed certificate on your Splunk servers, set this value to false to disable SSL verification.true, and then restart your JSD instance.- Click Apply.
Next Steps
If necessary, add, modify, or delete Splunk server connections in JSDJira.